Add a fully functional Cookie Banner to your Framer site
Use the Cookie Banner Component, powered by Google’s Consent Mode.
Intermediate
Getting Started
To set up a working cookie banner, you need three things:
The Cookie Banner component
A Google Tag Manager container
A site on a Pro plan
Adding the component to your site
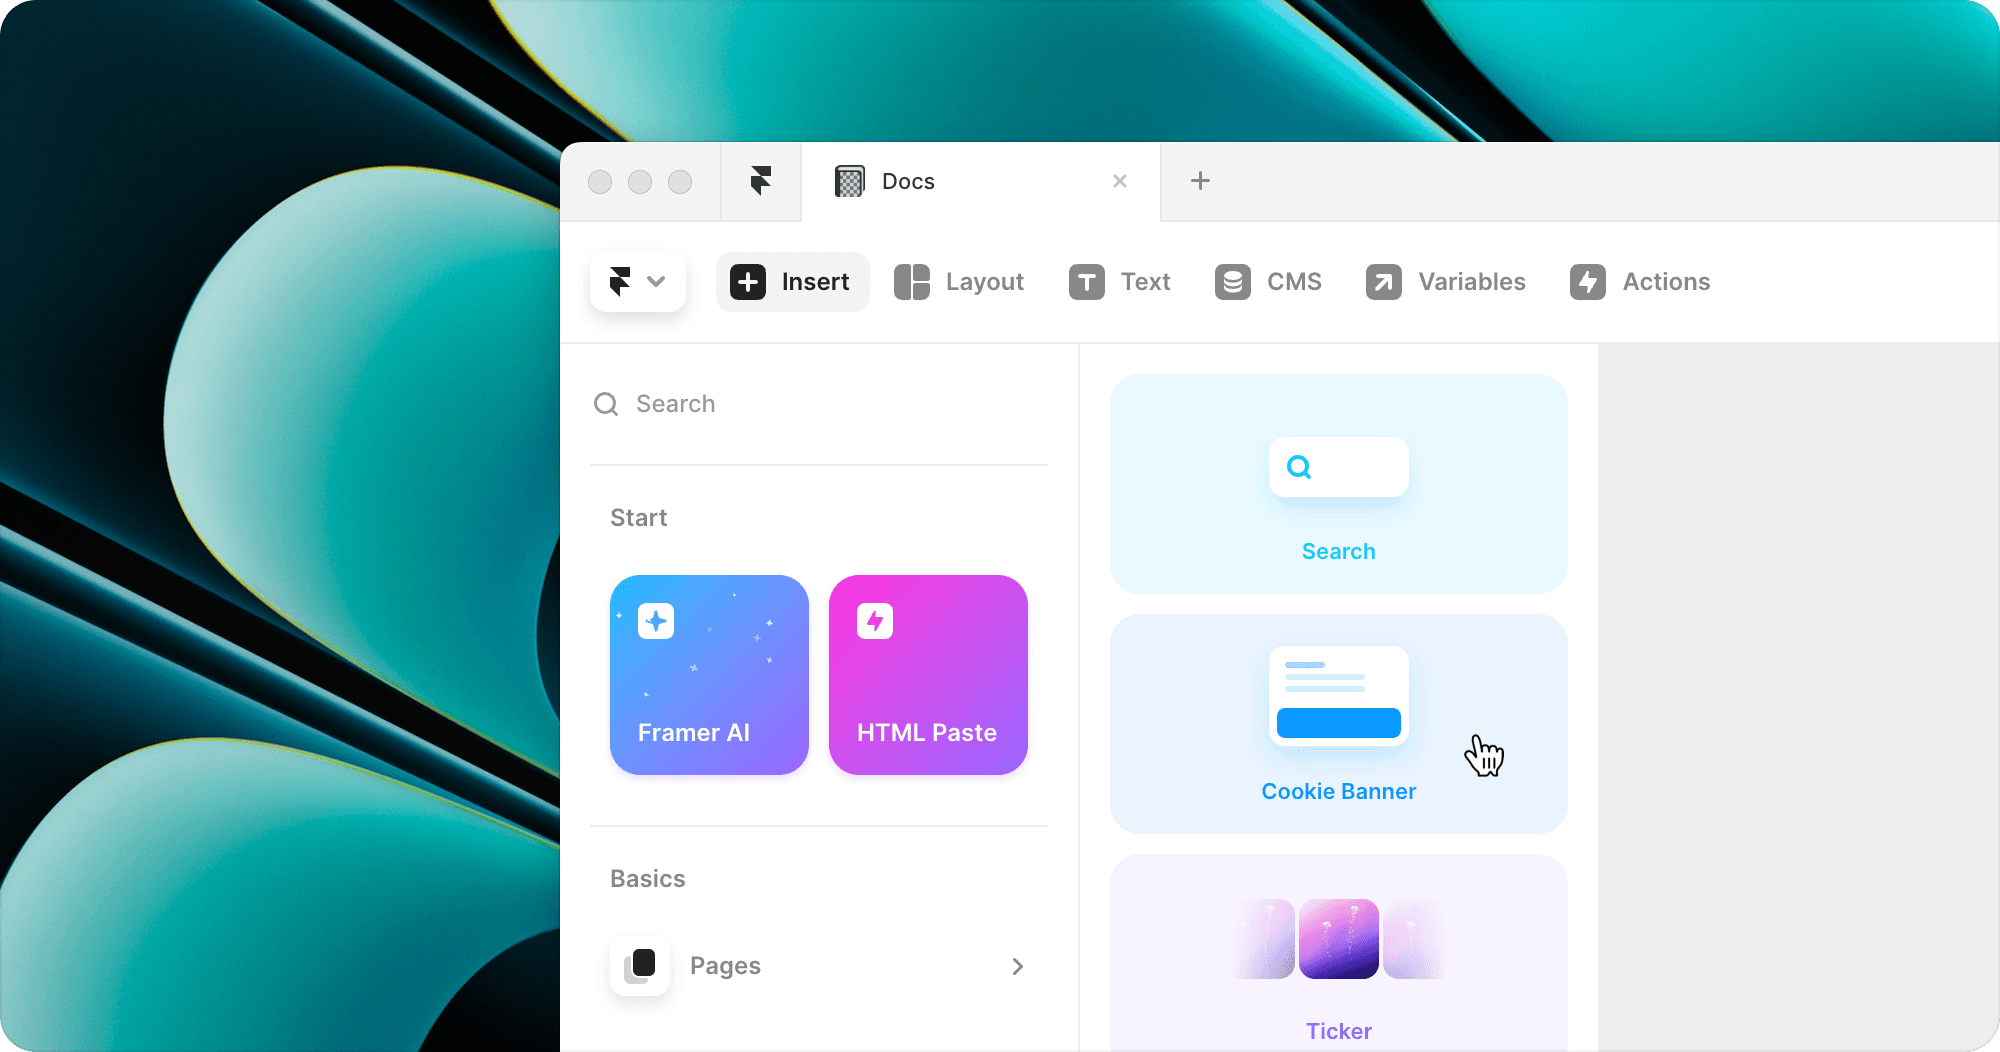
To access the Cookie Banner Component, simply go to the Insert Menu and drag it onto the Canvas to begin working with it. Remember to add the component to every page where you want it to be visible. For convenience, it’s recommended to add it to a common component that appears on every page such as a navbar, footer, or sidebar.
Previewing
The Cookie Banner component operates differently from traditional components. It handles the setup of positioning rules, animations, and responsive layouts, eliminating the need for such busy work. To use it, add the component to the desired page. Note that the component on the Canvas serves as the trigger for opening and closing the banner when the user clicks it, and not the actual banner itself.
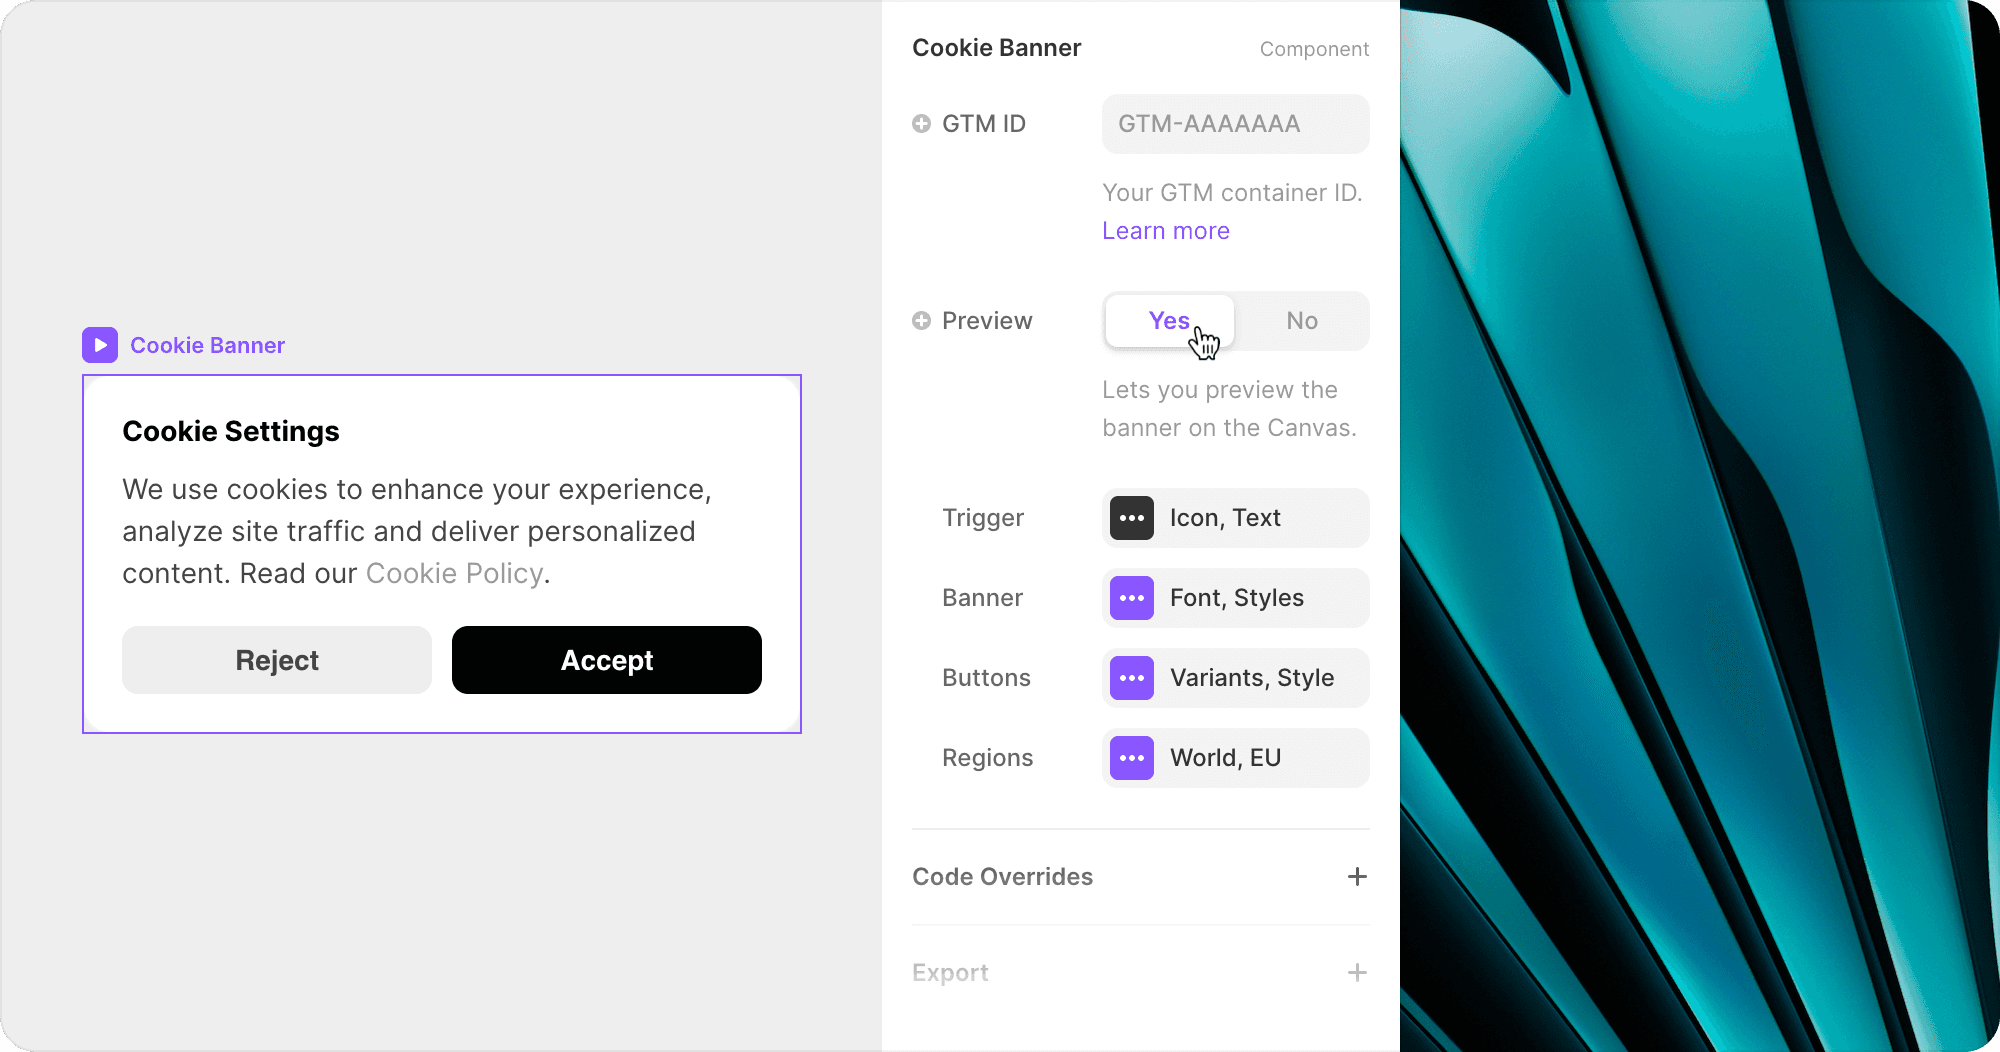
You have the flexibility to place the component anywhere on your page without impacting where the opened banner will appear. For easy customization of your banner’s appearance, there is a Preview option available. Simply turning this option on and off allows you to switch between the component’s appearance on your page and the actual banner’s appearance when it is active.
Hidden Mode
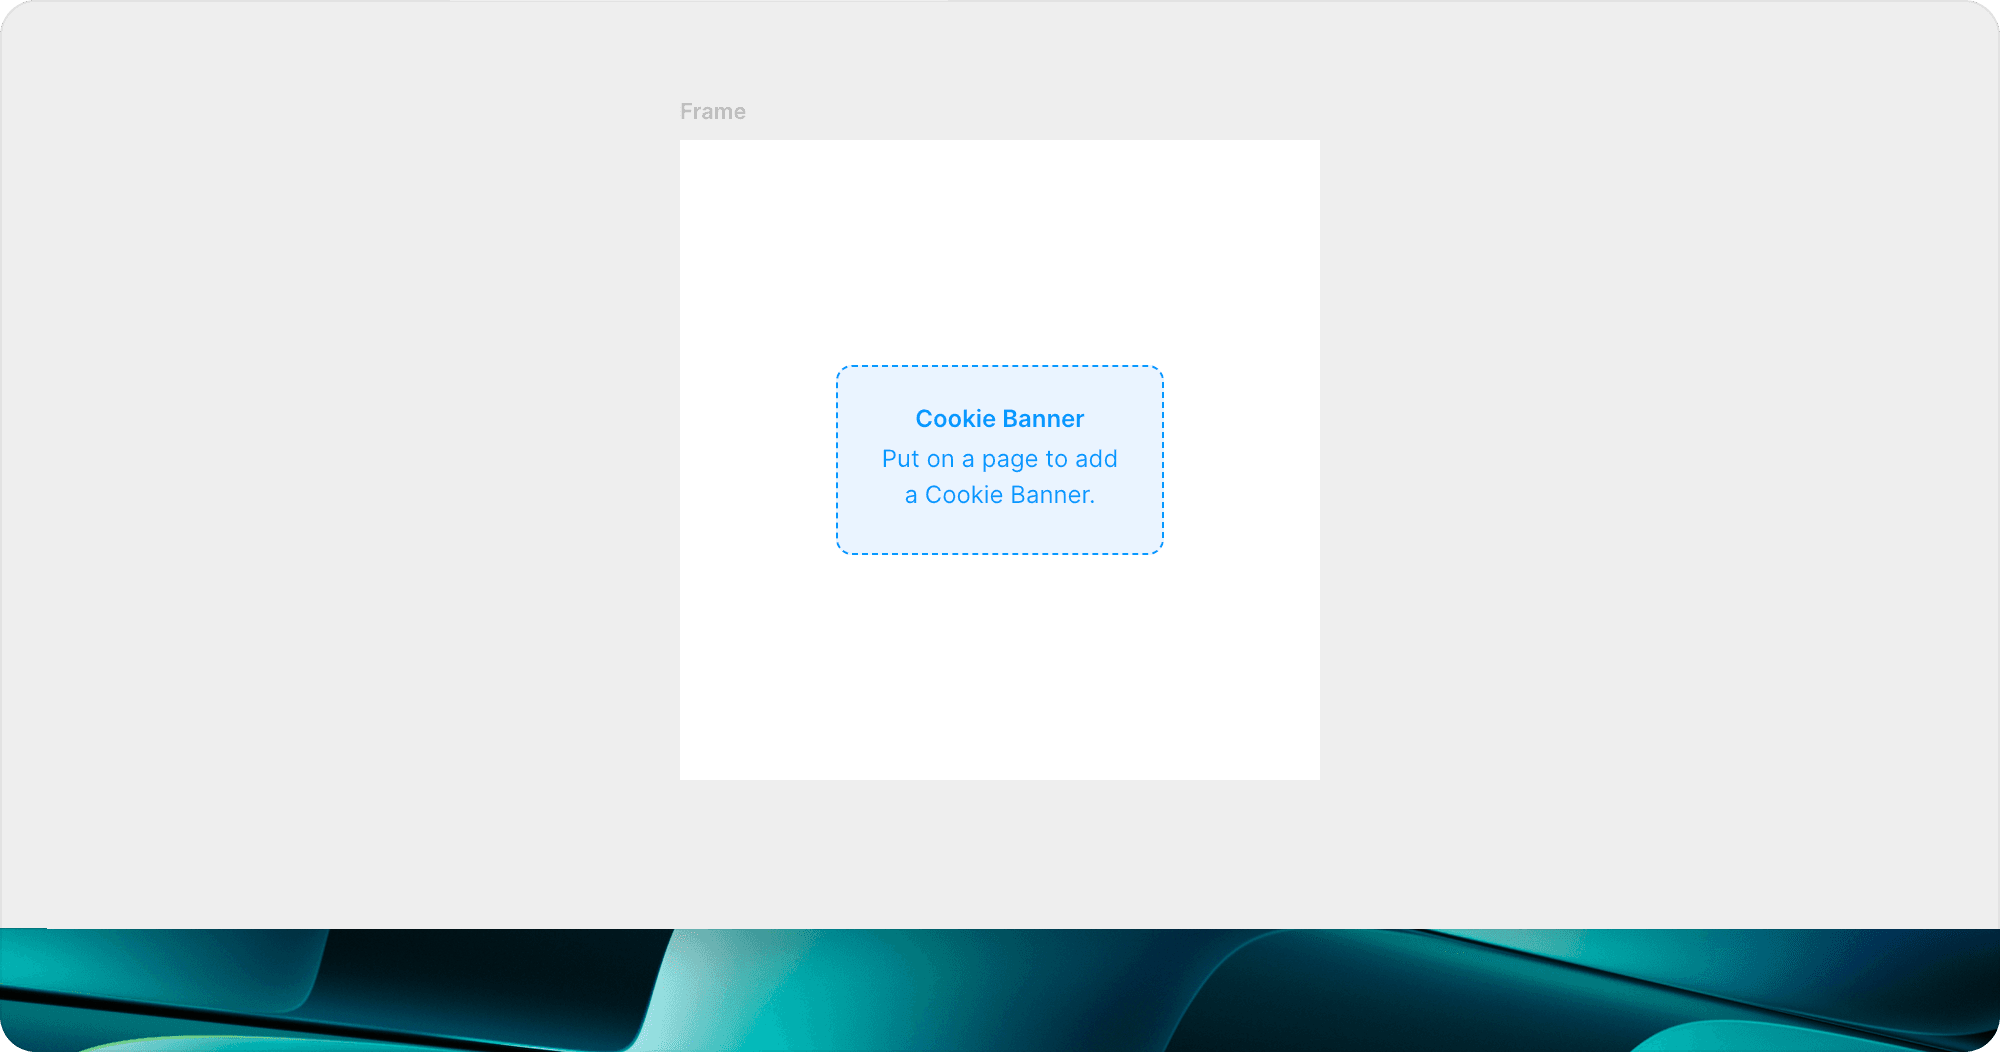
To open or close the banner, the component serves as the default trigger. However, if you wish to display the banner to visitors without a visible trigger (when they land on your site without consent), you can eliminate the trigger entirely. In the properties panel, open the Trigger options and select the None type. This will produce a placeholder that will not appear in the preview or published site. You can position it anywhere on your page, and it will activate the cookie banner, regardless of whether the component’s opacity is set to 0.
Controlling Behaviour
You can adjust the banner settings for both the EU and the rest of the world as per your preferences. Usually, a basic banner is set as the default option, but a more detailed version is used for the EU to comply with GDPR regulations. The relevant banner will be displayed on the Canvas when preview mode is enabled.
For each region, you have the option to determine the choices that users are presented with:
No Choice: Default cookies are automatically accepted.
Accept/Reject: Users can choose to accept or reject all cookies.
Customizable: Users can select from four levels of consent:
Necessary: Enables security and basic functionality.
Preferences: Enables personalized content and settings.
Analytics: Enables tracking of performance.
Marketing: Enables personalized ads and tracking.
Connect to Google Tag Manager
Once you are satisfied with the appearance of your component, connect it to Google Tag Manager. This will enable you to utilize consent mode for tag firing.
Setup Container
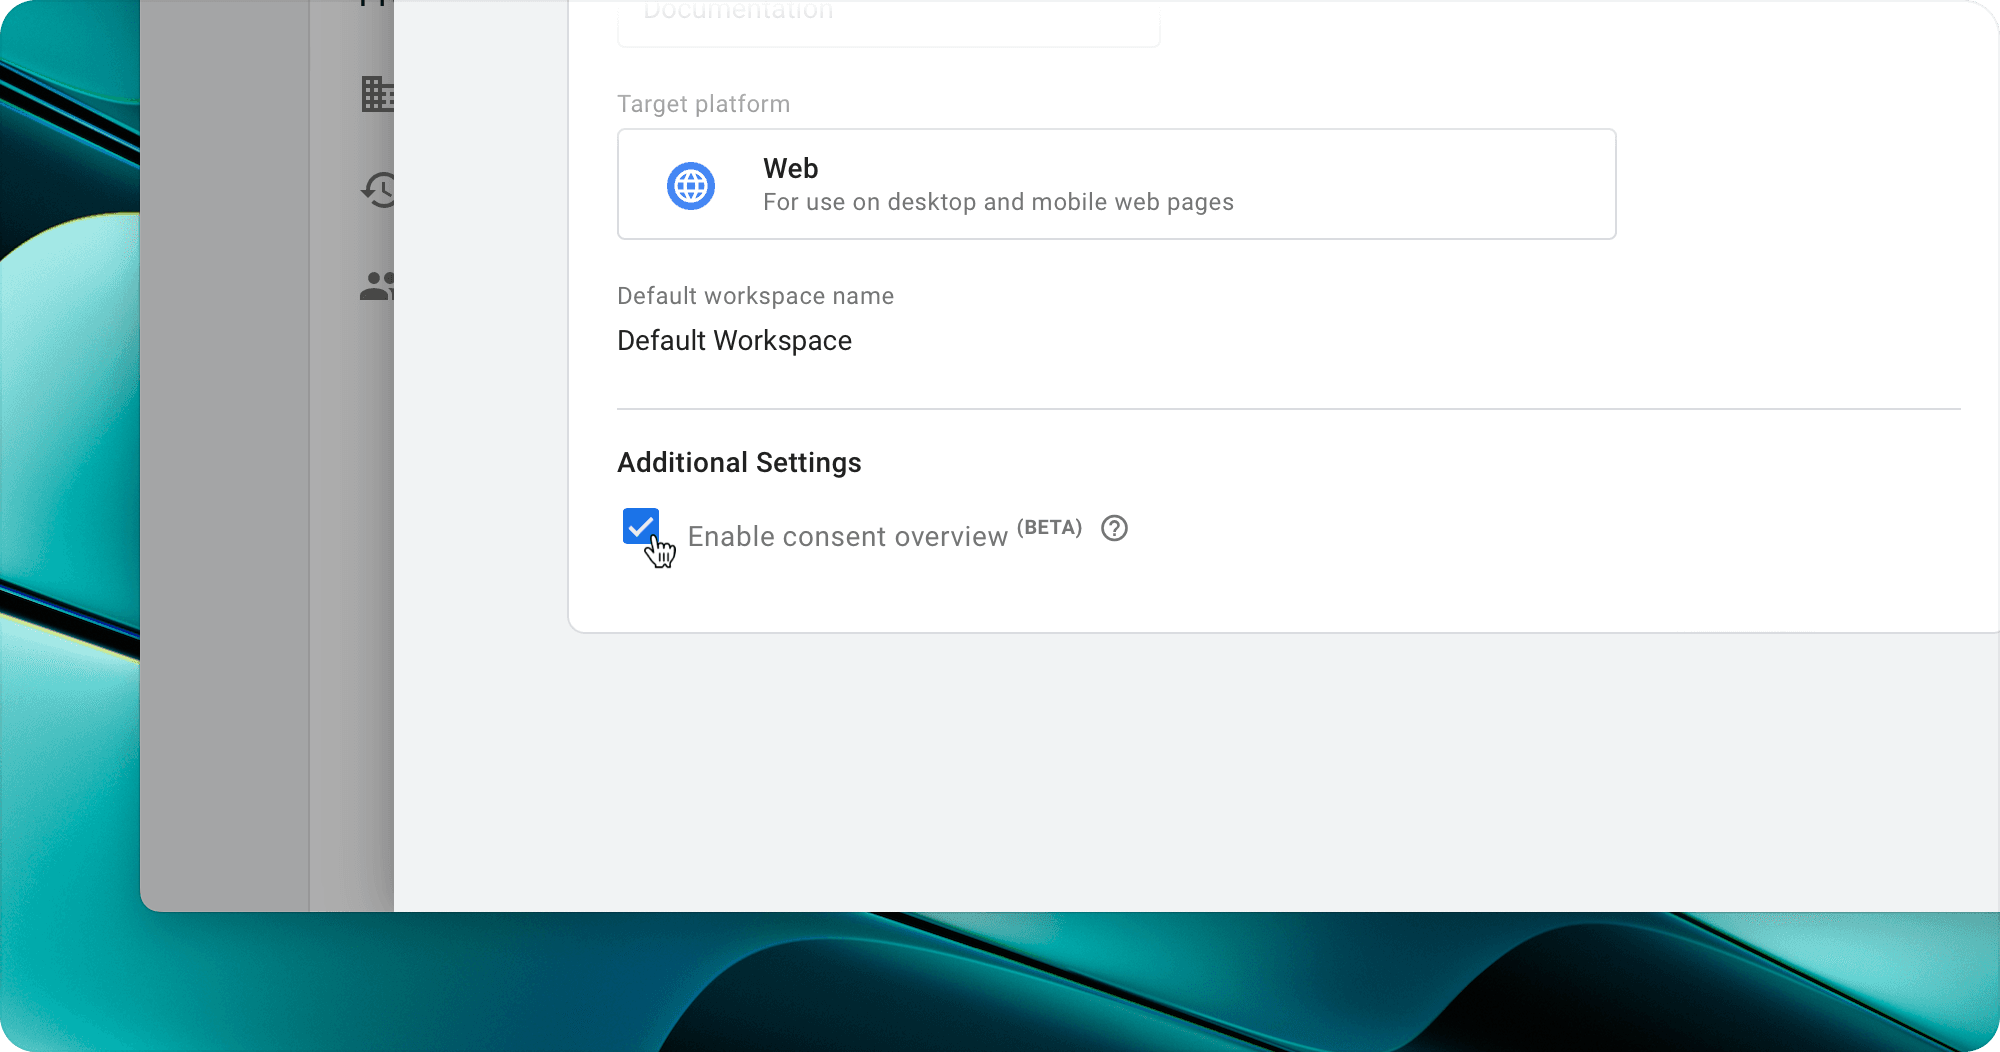
If you haven’t done so already, create a container in Google Tag Manager. Then, enable consent mode by going to Admin → Container Settings → Enable Consent Overview.
Connect to Framer
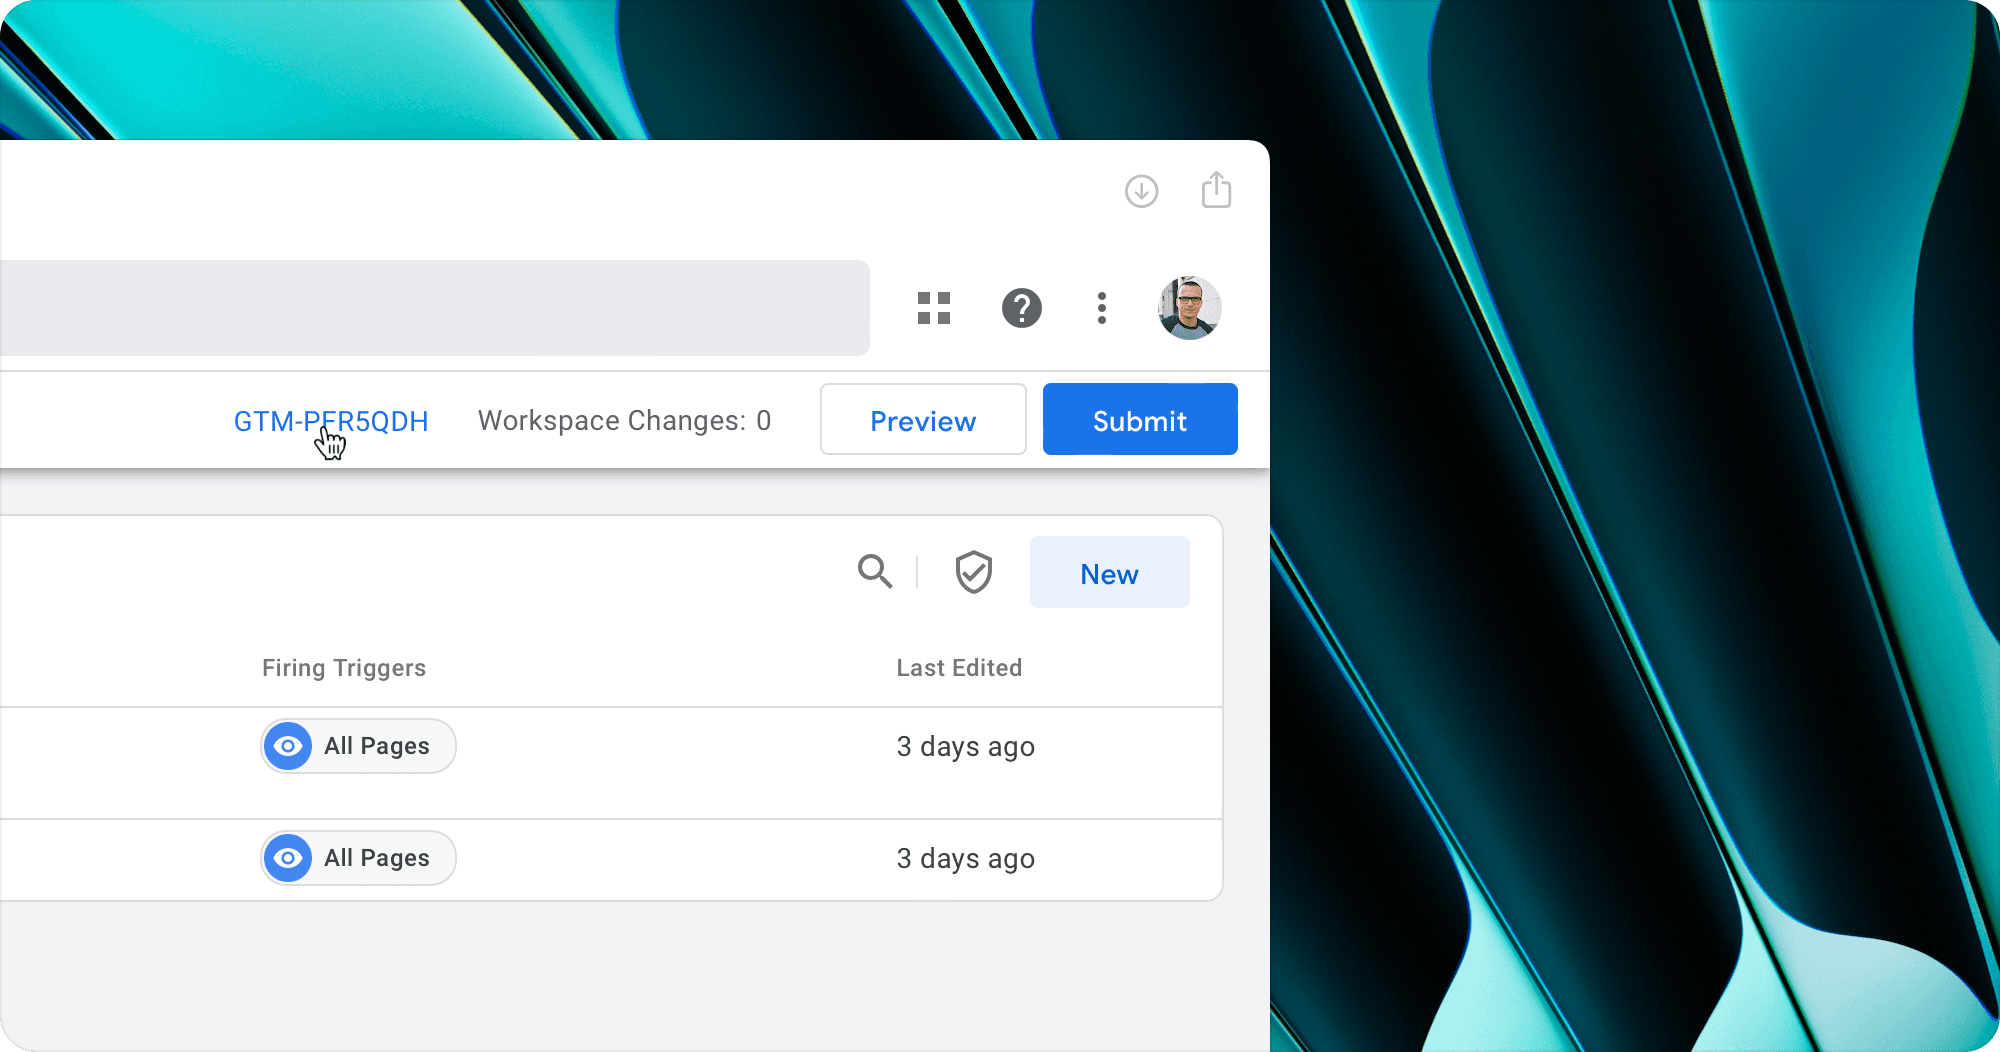
You can connect your container in Framer by adding its ID to the properties panel. The ID can be found in the top right of the dashboard.
Consent types
Google Consent mode has 5 different types you can choose from:
ad_storage: Enables storage related to advertising.analytics_storage: Enables storage related to analyticsfunctionality_storage: Enables storage that supports the functionality of the website or app, e.g., language settings.personalization_storage: Enables storage related to personalization, e.g. video recommendationssecurity_storage: Enables security-related storage, such as authentication functionality, and fraud prevention.
To keep things simple, the Cookie Component maps the consent types from Google to these options in the UI:
Necessary:
security_storage+functionality_storagePreferences:
personalization_storageAnalytics:
analytics_storageMarketing:
ad_storage
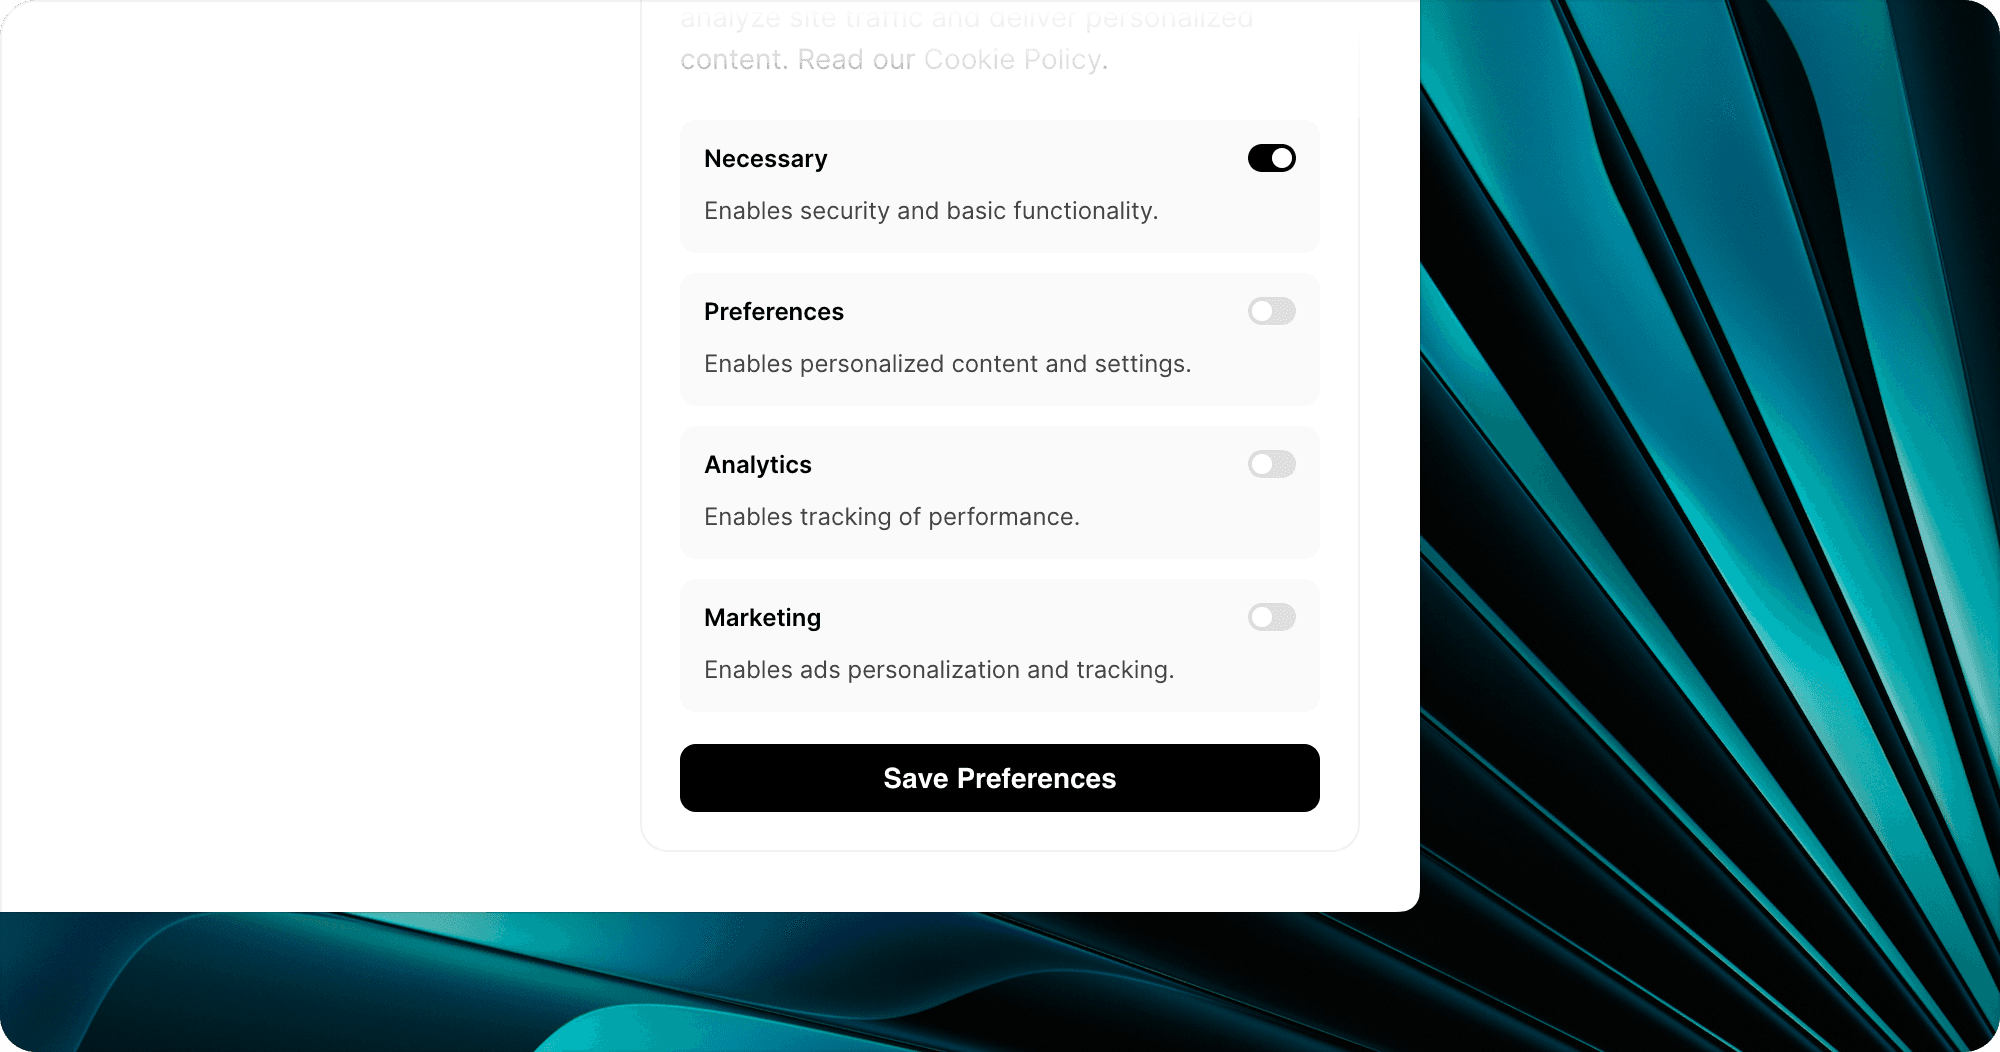
You can customize each option by changing its title and description in the properties panel.
Google Tag Behaviour
When consent mode is enabled, Google tags (Analytics, Ads, etc.) will automatically adjust their behavior according to the given consent.
“When you enable consent mode, Google measurement products ensure that a visitor’s consent mode state is preserved across the pages they visit. If consent is denied, tags that fire do not store cookies; instead, they communicate a minimum of information about user activity.”
For example, when no analytics consent has been given:
“...cookieless pings are sent to Google Analytics. No Analytics cookies are set, accessed, or read from the device. Consequently, cookieless pings are anonymized and non-identifiable Google Analytics events.
Cookieless pings, as part of regular HTTP/browser communication, may include the following information: user agent, screen resolution, IP address. Note that Google Analytics 4 does not store or log IP addresses.”
— From the Google help page.
Custom Tags
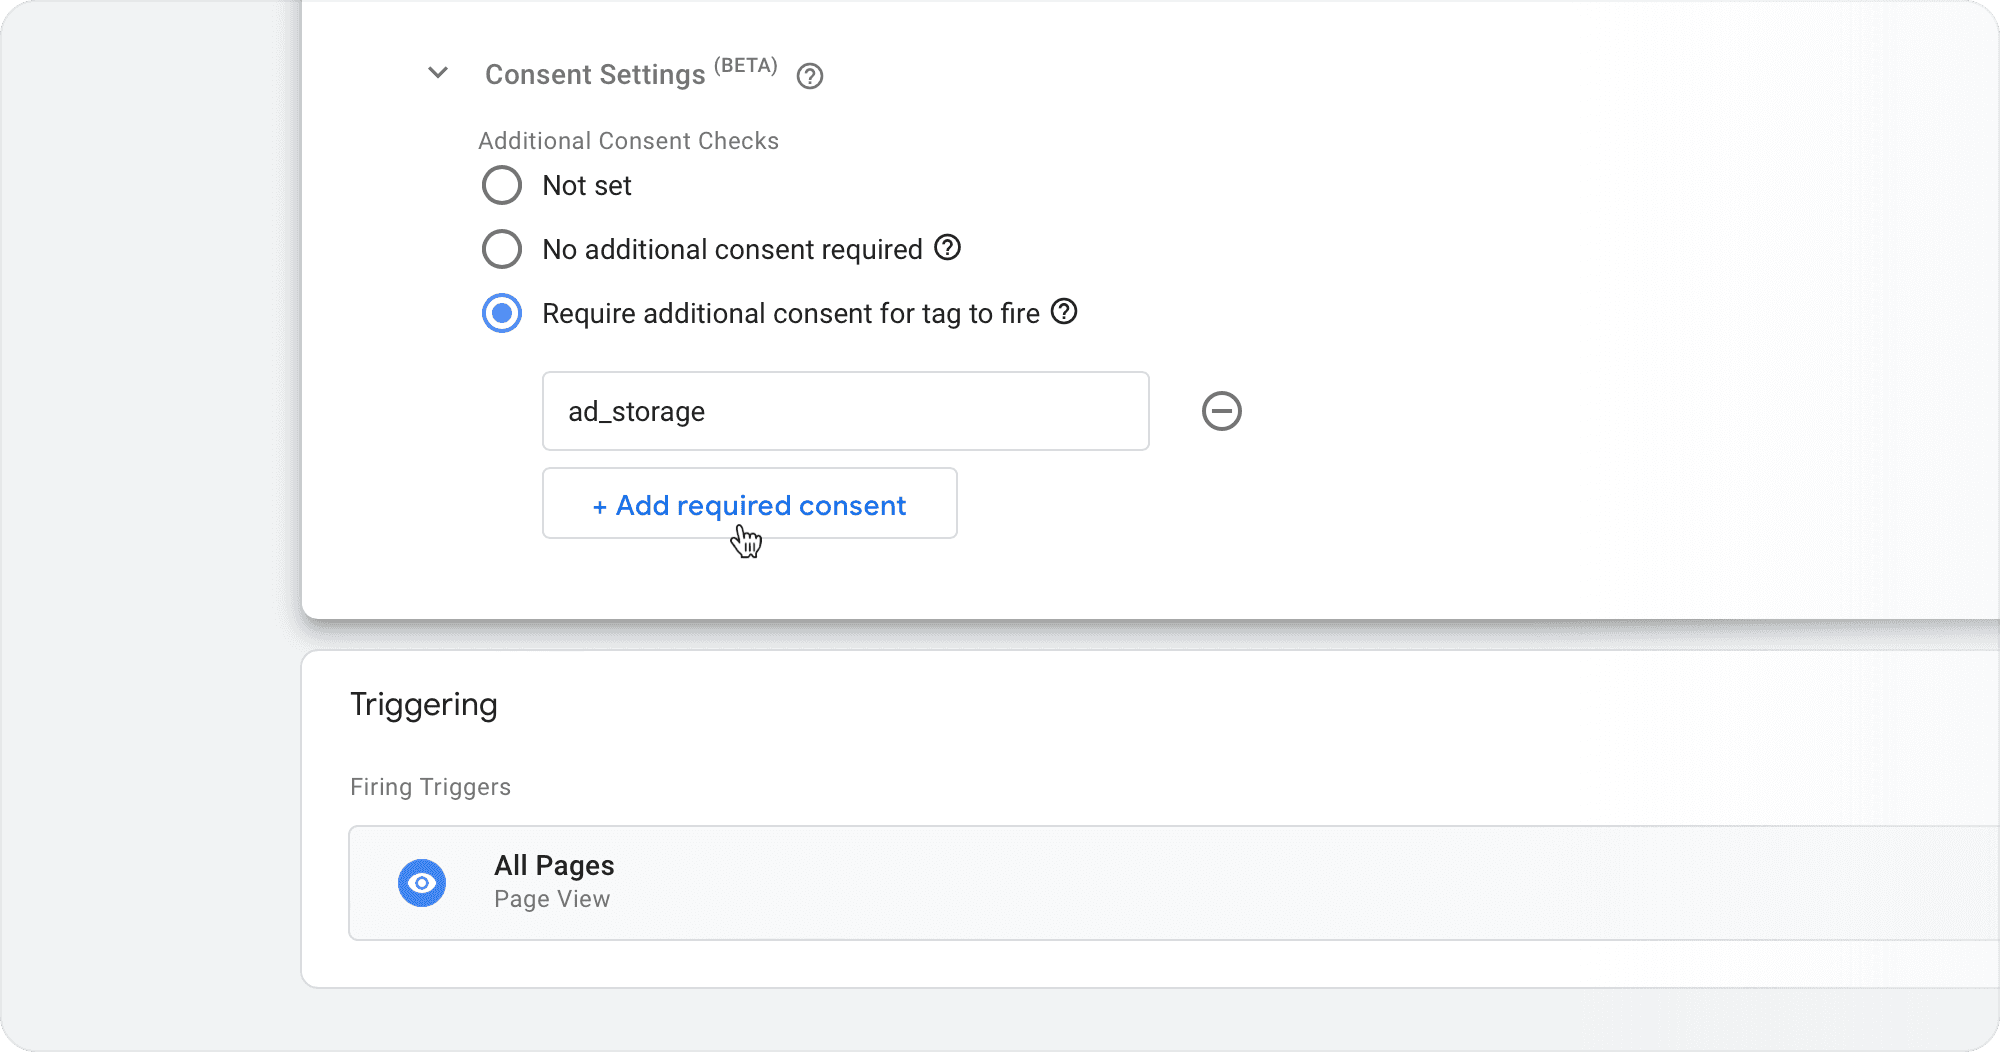
You can control when tags are fired based on consent from the UI:
Open any tag
Go into advanced options
Open Consent Settings
Pick a combination of consent
Learn more on the Google help page.

